Outdoor faucets are essential for watering gardens, washing cars, and other household tasks, but when they begin to leak, they can lead to water waste and potential property damage. Many homeowners search for effective ways to fix these issues themselves, especially when looking up terms like repair leaking outdoor faucet columbus, ga. Addressing a leaking outdoor faucet promptly not only conserves water but also helps prevent costly repairs down the road.
Identifying the Source of the Leak
Before you can repair a leaking outdoor faucet, it is important to determine where the leak originates. Most leaks occur at the handle, spout, or connection to the house. Start by turning on the faucet and observing:
- If water drips from the spout even when the faucet is off, the problem may be a worn-out washer or valve seat.
- If water leaks from around the handle, the packing or O-ring may need replacement.
- If the leak is at the base where the faucet connects to the wall, it could be due to a faulty connection or pipe.
Pinpointing the source ensures you use the correct repair method and materials.
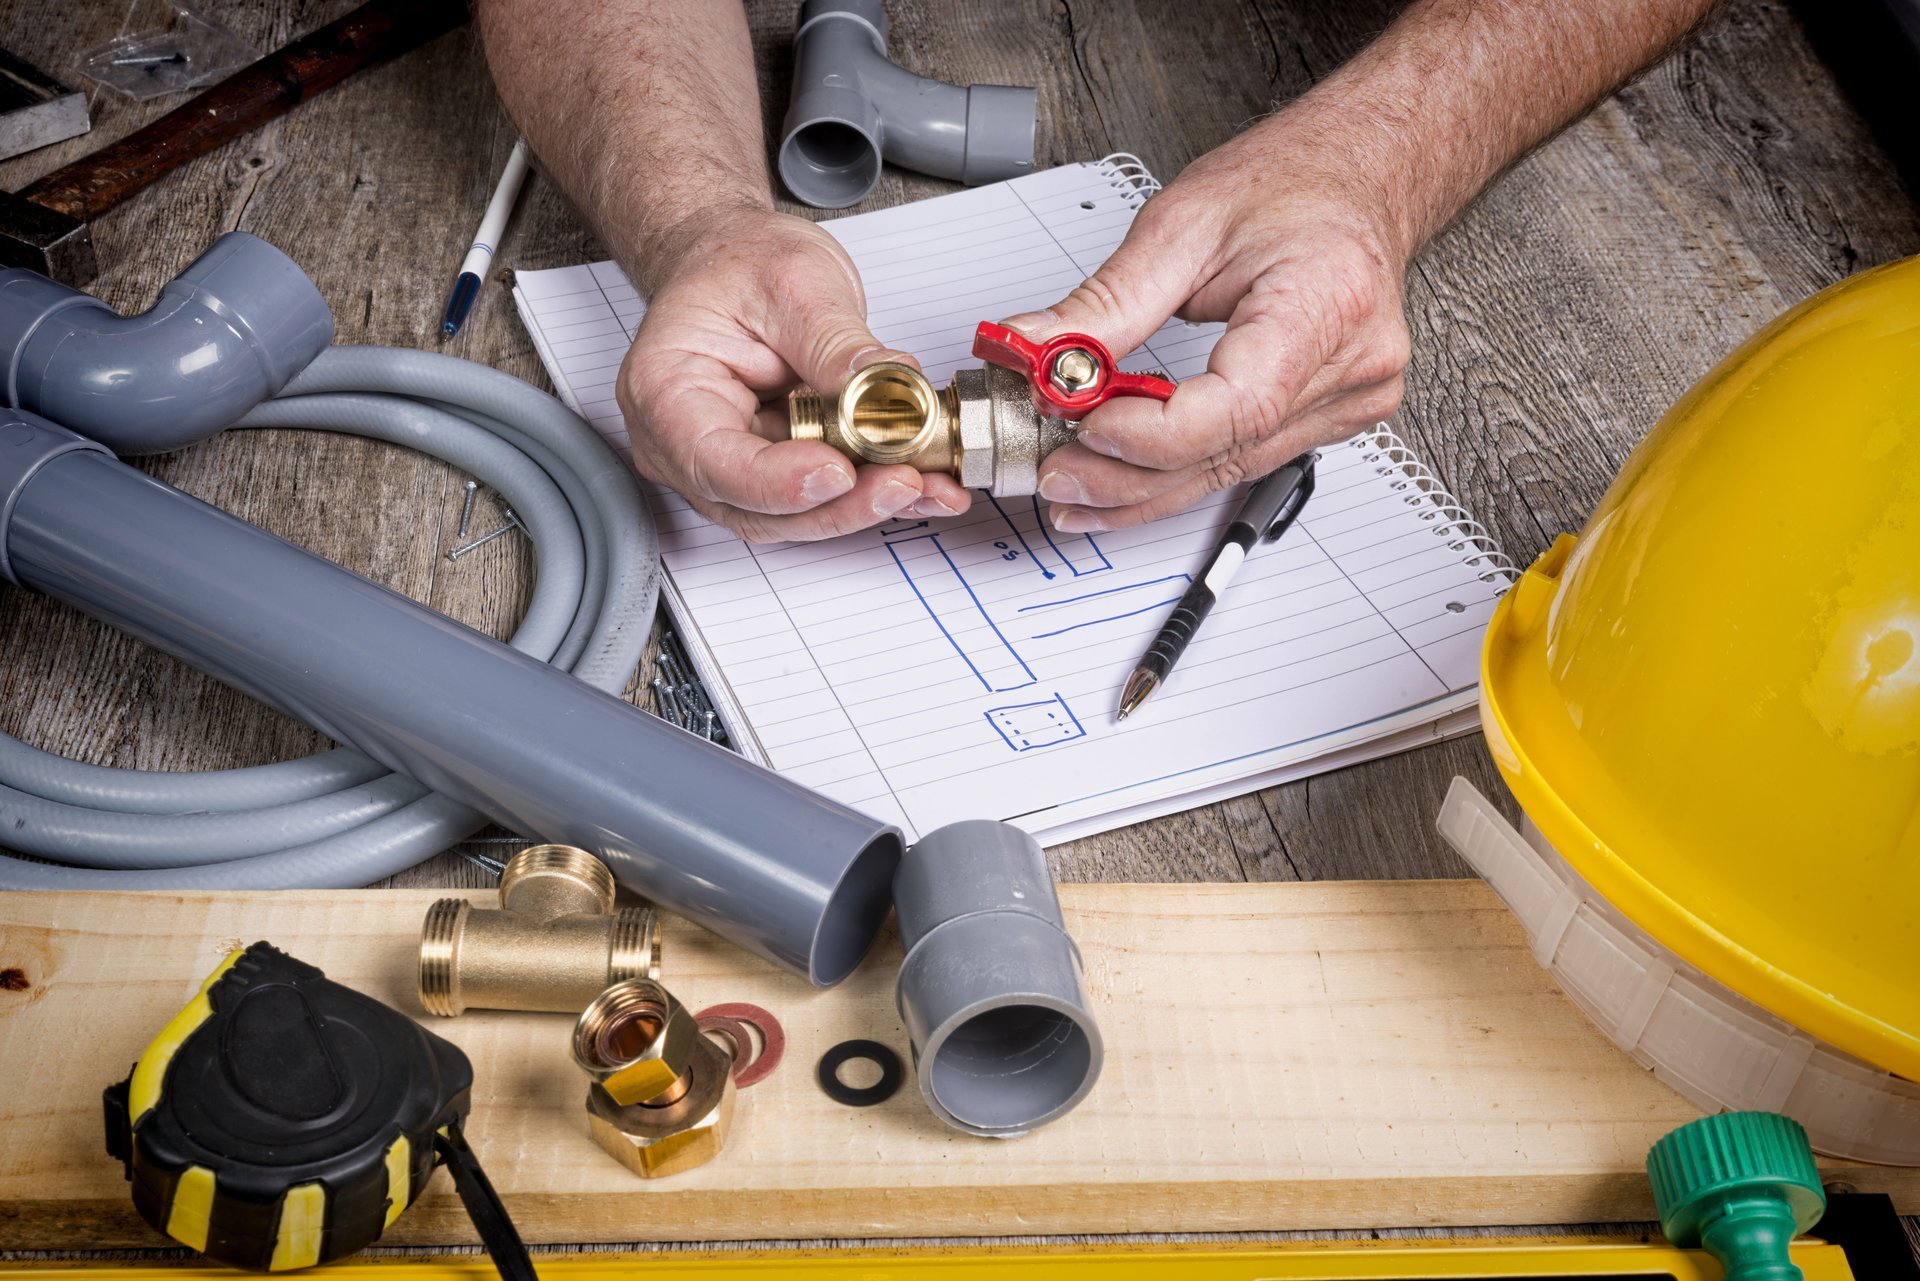
Gathering Tools and Materials
Having the right tools on hand will make the repair process smoother. Typically, you will need:
- Adjustable wrench or pliers
- Screwdriver (flathead or Phillips, depending on your faucet)
- Replacement washers, O-rings, or packing material
- Plumber’s tape (Teflon tape)
- Bucket or towel to catch any water
If possible, purchase a repair kit designed for your specific faucet type.
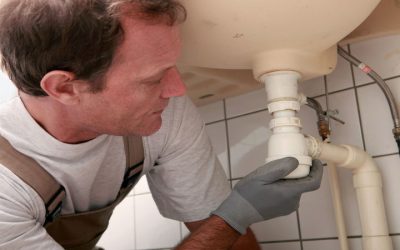
Step-by-Step Repair Process
1. Turn Off the Water Supply: Locate the shutoff valve inside your home that controls water flow to the outdoor faucet. Turn it off to prevent water from spraying during the repair.
2. Remove the Faucet Handle: Unscrew the handle using a screwdriver. Some handles may have a decorative cap that needs to be pried off first.
3. Disassemble the Faucet: Use a wrench to loosen the packing nut and remove the stem assembly. Inspect the washer and O-ring for signs of wear or damage.
4. Replace Damaged Parts: If the washer or O-ring is cracked, flattened, or missing, replace it with a new one of the same size. For leaks at the packing nut, wrap plumber’s tape around the threads or replace the packing material.
5. Reassemble the Faucet: Carefully reinsert the stem assembly, tighten the packing nut, and replace the handle. Make sure everything is securely fastened.
6. Restore Water Supply and Test: Turn the water supply back on and test the faucet for leaks. If the leak persists, further inspection or professional assistance may be necessary.
Preventing Future Leaks
Regular maintenance can extend the life of your outdoor faucet. During colder months, disconnect hoses and insulate the faucet to prevent freezing. Periodically check for signs of wear and address minor leaks promptly to avoid more extensive damage.
Repairing a leaking outdoor faucet at home is a manageable task for most homeowners when equipped with the right tools and knowledge. By identifying the source of the leak, gathering the necessary materials, and following a systematic repair process, you can resolve the most common issues efficiently. Remember, timely repairs will help conserve water and protect your property. If you ever feel uncertain during the process, or if the leak continues after your efforts, consider seeking professional help for peace of mind. Take action today to keep your outdoor faucet in top condition!